Start with the originals you need to capture
Before comparing specifications, make a list of what you expect to scan most often. Loose office pages, bound notebooks, family photographs, and textured prints place different demands on a scanner. Note the largest item you need to fit, whether any originals are fragile, and how many pages you typically handle at once. Those details will narrow your choices more effectively than a headline resolution figure.
A phone camera can be convenient for an occasional receipt or note, especially when you only need to read the contents. A dedicated scanner is worth considering when you want repeatable framing, even lighting, or a reliable way to process many items. If you are exploring which physical prints might be worth digitizing, browse Printmaking Notebook for ideas about different kinds of printmaking work.
Choose a flatbed, a document feeder, or both
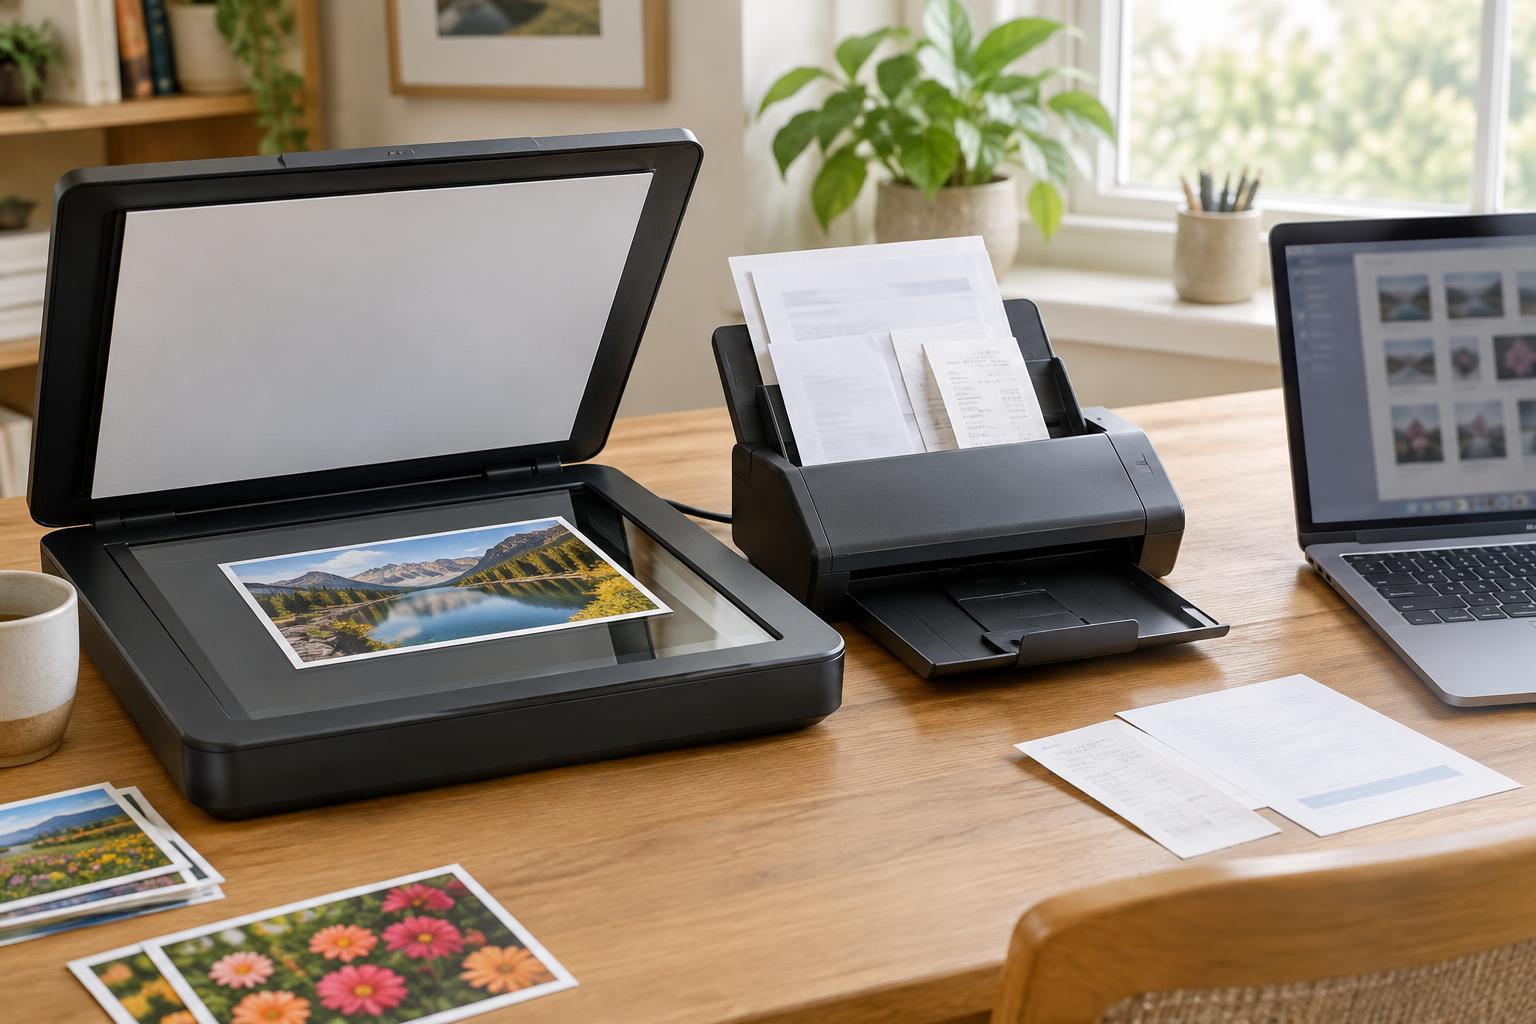
A flatbed scanner holds the original still beneath a lid. It is usually the more flexible choice for photographs, delicate papers, artwork, and pages from a book that can be opened safely. Check the glass area against your largest original: a scanner that fits standard office paper may not capture a larger print in one pass. You can scan a large item in sections, but joining the pieces takes additional work.
A sheet-fed document scanner pulls loose pages through rollers. It can save time on stacks of ordinary paperwork, particularly if it has an automatic document feeder and can scan both sides of a page. It is less suitable for brittle, thick, irregular, or valuable originals that should not be bent or pulled through a mechanism. Some all-in-one printers offer both a flatbed and a feeder, but check the specifications for each scanning path rather than assuming they have identical capabilities.
Think about handling as well as speed. A feeder is useful only if you can prepare pages by removing staples and checking for folds or stuck sheets. A flatbed takes more hands-on time but lets you position each original deliberately. If studio routines influence how you handle works on paper, browse Studio Practice · Printmaking Notebook for further studio-focused reading while planning a safe scanning area.
Read resolution and connection specifications carefully
Scanner resolution is commonly expressed in dots per inch, or dpi. More dpi captures more pixels from a given area, which can help with small photographs or details you may crop later. It also creates larger files and slower scans. For ordinary text, legibility and a clean original often matter more than choosing the highest setting. For photographs and artwork, make a test scan at a moderate setting, inspect it at the size you expect to use, and increase resolution only if you need more detail.
Look for optical resolution rather than relying on a larger interpolated figure. Interpolation adds pixels in software; it does not reveal detail the scanner never captured. Color settings matter too: scan in color when subtle tones are important, even if the original appears mostly monochrome. You can make a grayscale copy later without discarding the color scan.
Also confirm that the scanner works with your computer and operating system. Check the required connection, available drivers or scanning software, and supported file formats. USB may be simplest for a scanner kept beside one computer; a network-capable model may be more convenient for a shared workspace. Wireless support does not guarantee that every advanced scanning feature will work identically from every device, so check the workflow you actually plan to use.
Build a workflow you can maintain
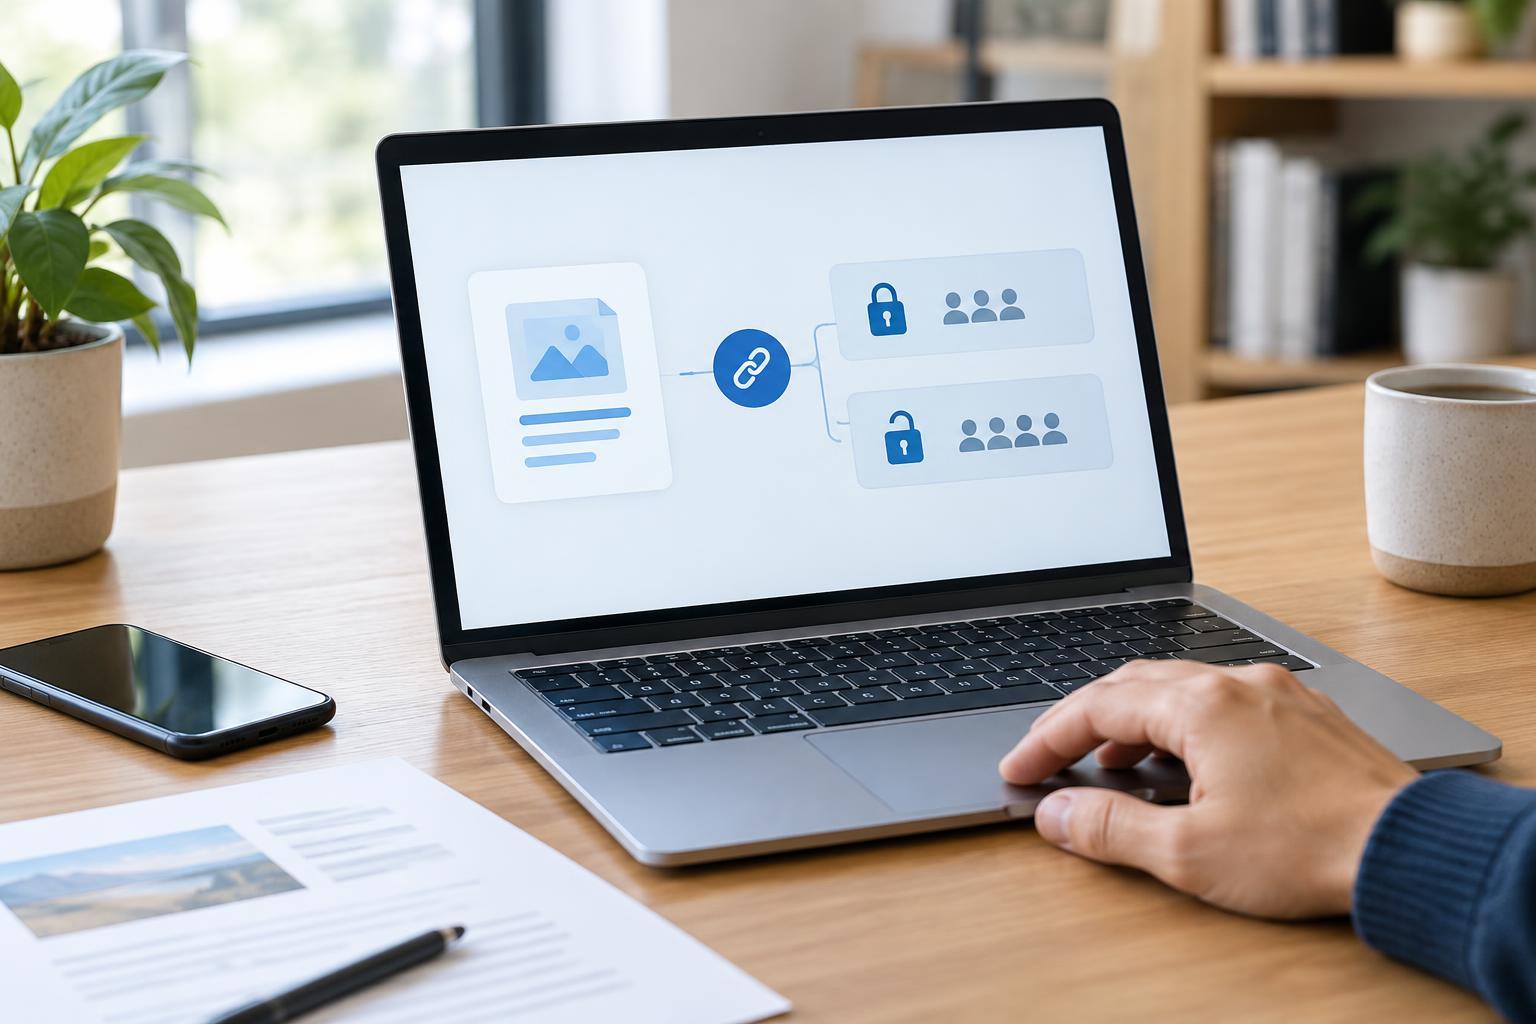
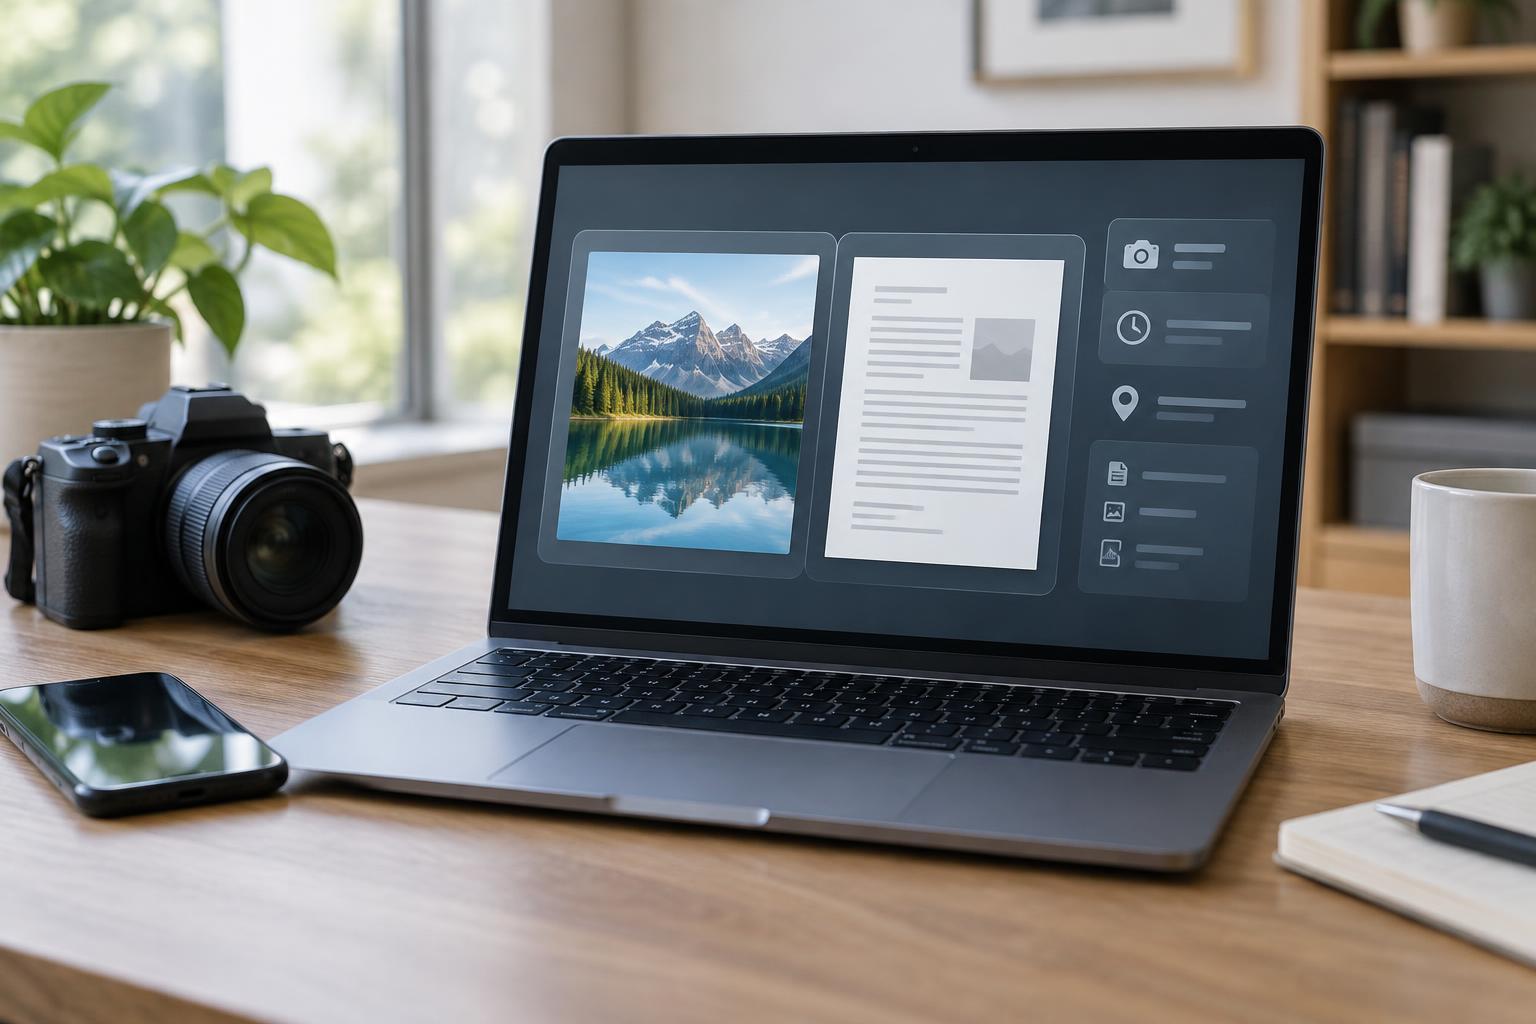
Decide where scans will go before you create hundreds of files. A simple folder structure and descriptive filenames make it easier to locate an image later. Save an unedited master for items you may want to revisit, then make smaller copies for sharing or routine reference. Image formats such as TIFF or PNG can be useful when you want to avoid additional lossy compression; a PDF is often convenient for a multipage document. The best format depends on what you intend to do with the file.
Run a short trial with representative items before committing to a large batch. Check that page edges are visible, text is readable, colors are acceptable for your purpose, and files open on another device if they need to be shared. Scanning creates a useful copy, but it does not replace caring for the physical original or keeping a separate backup of important files. For more browsing around how finished prints are presented, visit Editions and Presentation · Printmaking Notebook as you decide which scans need careful labeling and preservation.